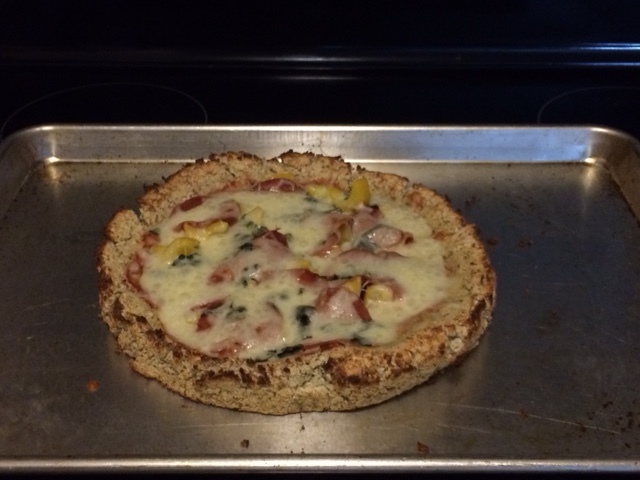
It’s cauliflower pizza!
If you are craving pizza (like I do often) and you want to keep your carb intake lower, this might be your best bet.
Not only is it delicious but since the crust is made from cauliflower it is more nutrient dense and has many vitamins and minerals that are good for you!
Some of those vitamins and minerals are sulforaphane (this is a compound that has been shown to kill cancer stem cells), vitamin C, vitamin K, thiamin, riboflavin, niacin, magnesium, phosphorus, fiber, vitamin B6, folate, pantothenic acid, potassium, and manganese.
There is more but you get the gist of it. IT’S REALLY GOOD FOR YOU! Haha!
Here is my cauliflower pizza recipe:
Ingredients:
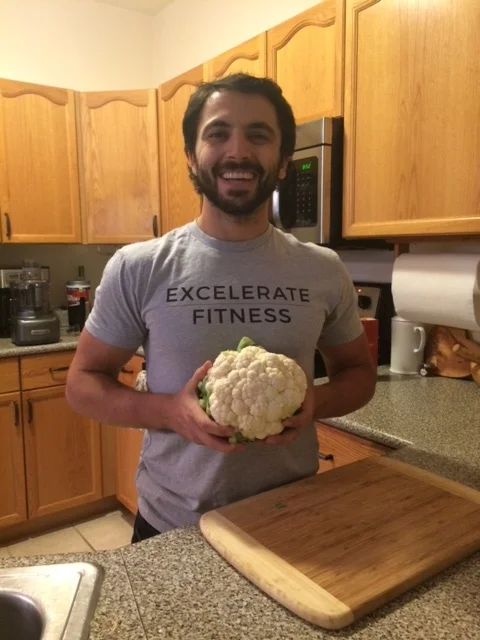
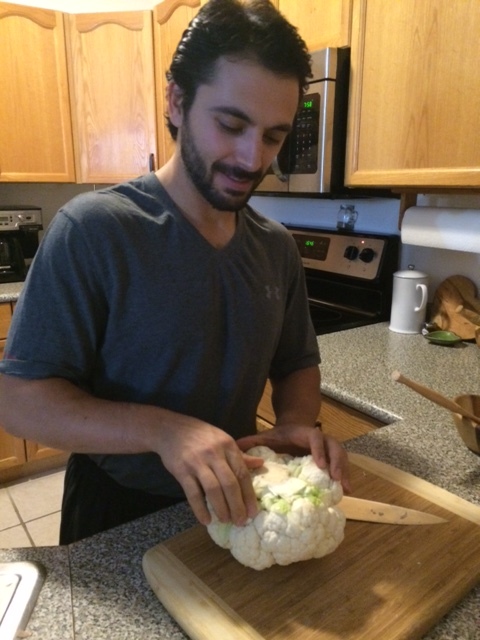
- Cauliflower
- 1/2 cup Coconut flower
- 1 egg (I use egg whites)
- Italian seasoning
- Basil
- Salt & Pepper
- Whatever toppings you would like on your pizza
Tools:
-Food processor (if you don’t have one, use a cheese grader)
-Cheese cloth (if you don’t have one, use paper towels)
-Deep dish baking pan
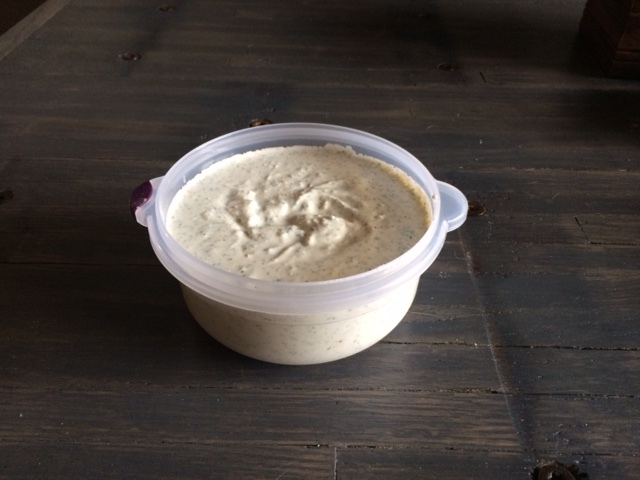
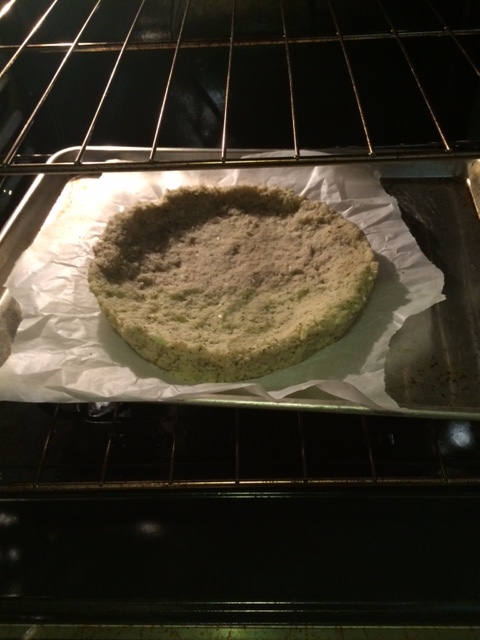
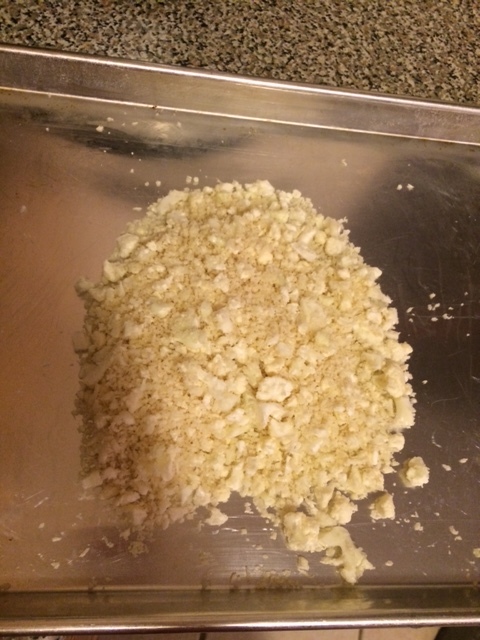
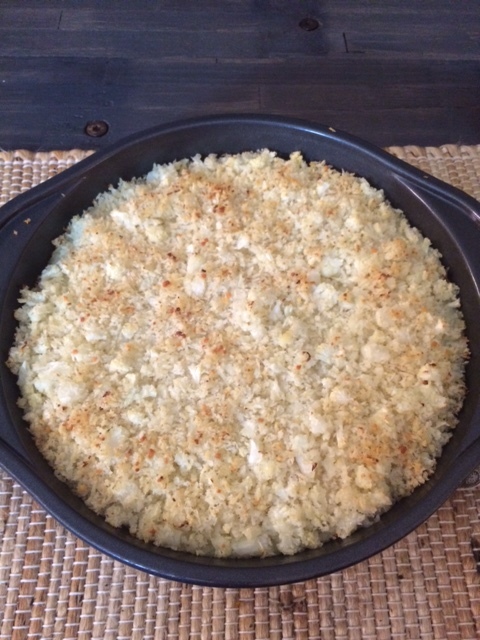
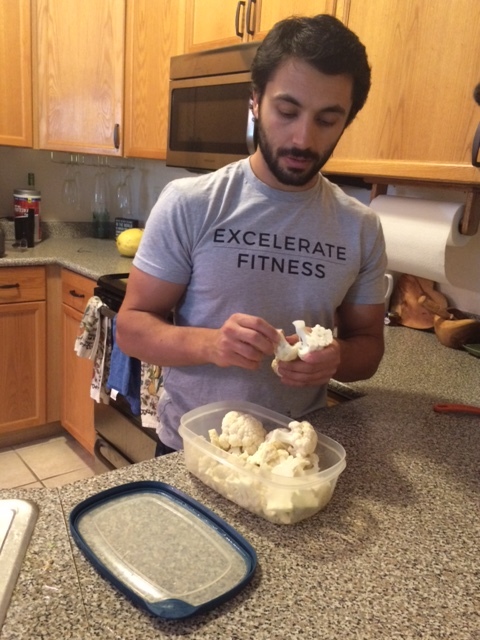
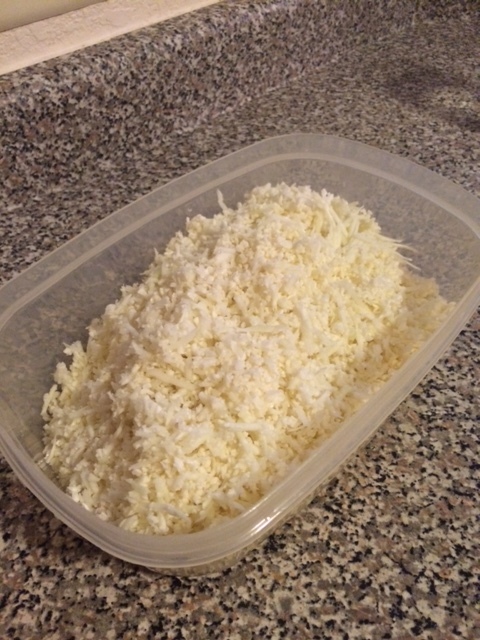
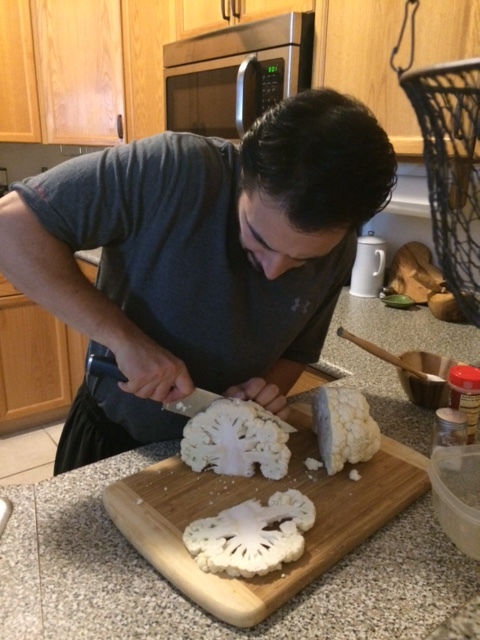
Step 1: Pre-heat the oven to 300 degrees. While that is heating up, shred your cauliflower with a food pressor or cheese grader.
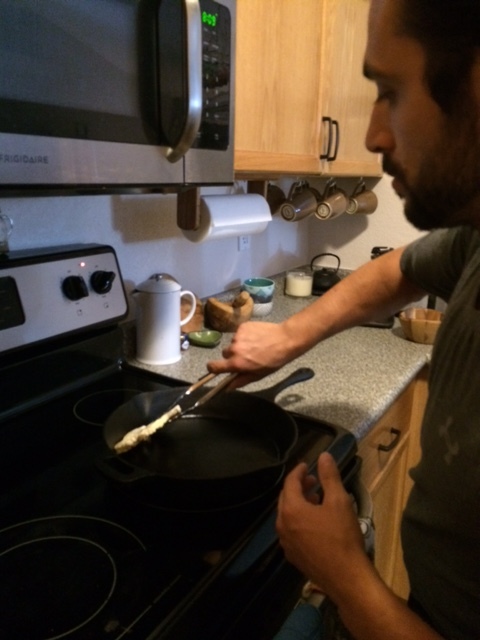
Step 2: Since cauliflower naturally holds a lot of water, we have to strain and dry out as much of the water as possible so the crust does not become crumbly. Transfer your shredded cauliflower to a cheese cloth and squeeze out as much water as possible. Once you are done with that, put all of the cauliflower on a baking sheet and stick it in the oven for about 15-20 minutes (we just want to make sure we got out most of the moisture in the cauliflower).