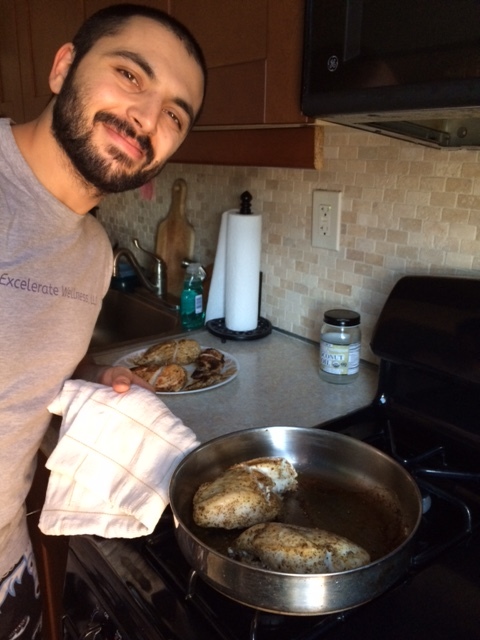
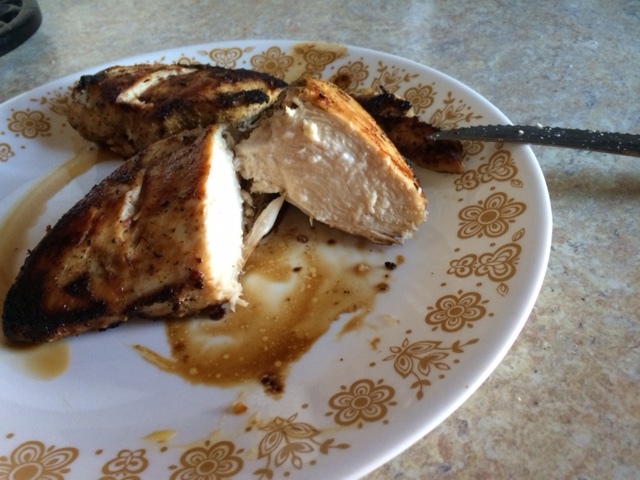
Now that I have your attention obviously these buns are not made out of steel. That would not be tasty.
Instead they are made out of cauliflower.
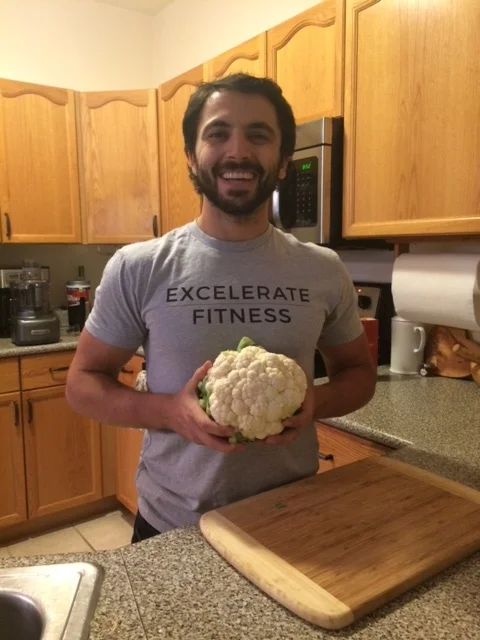
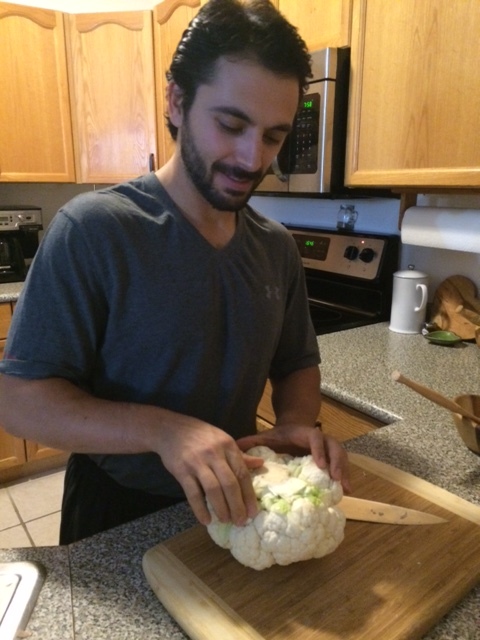
The other day Victoria and I were making burgers but we didn’t have any bread or buns. The only thing we had was cauliflower.
So what does one do when there is only cauliflower? They make cauliflower buns of course!
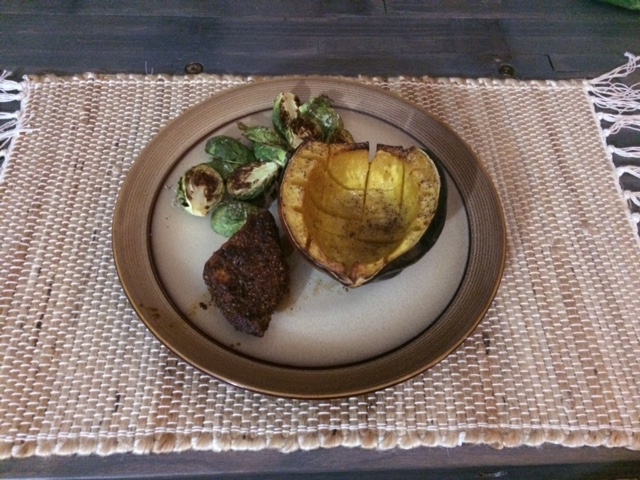
They do taste pretty darn good and you get to have at least two servings of veggies per burger. BOOMSHAKALAKA!!
Here is my cauliflower bun recipe:
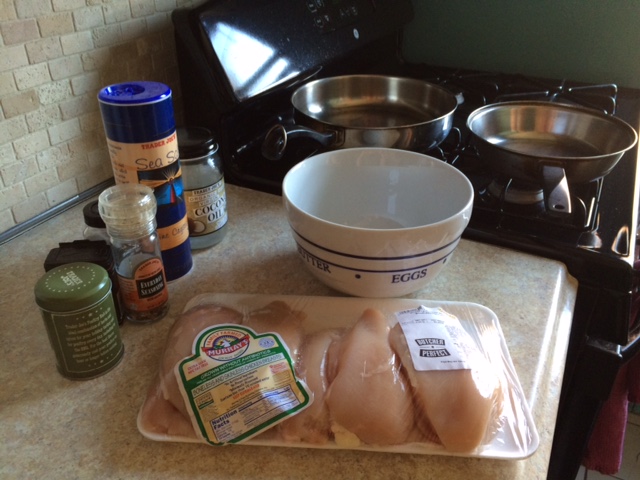
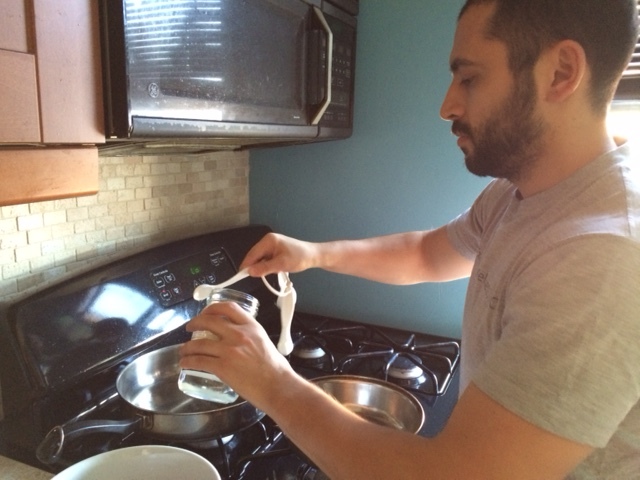
Ingredients:
- 3/4 of Cauliflower
- 4-6 Tbsp of coconut flower
- 2 Tbsp of garlic powder
- 1 Tbsp of salt
- 4-6 Eggs
Tools:
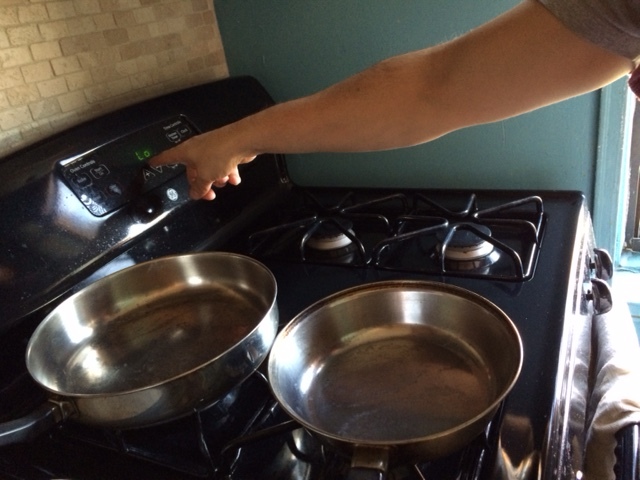
Step 1: Pre-heat the oven to 400 degrees. Take out a baking sheet and line it up with parchment paper (if you don’t have that, you can use aluminum foil).
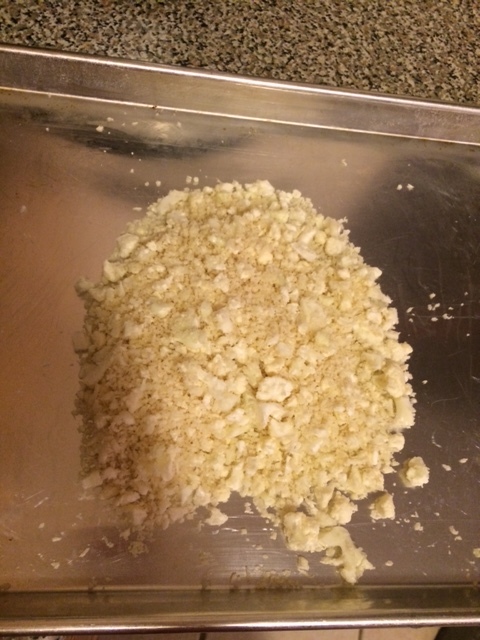
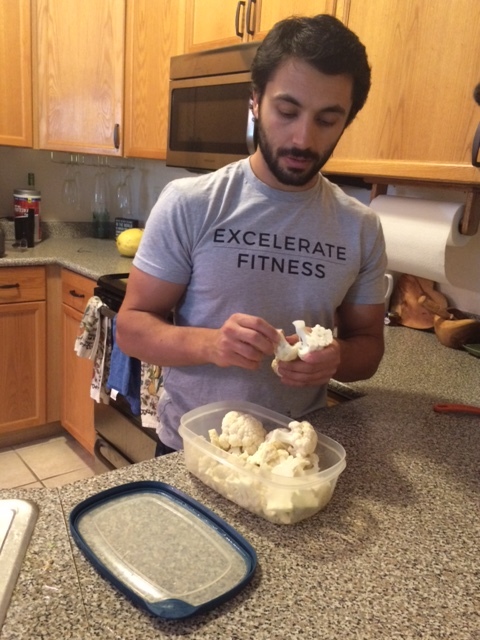
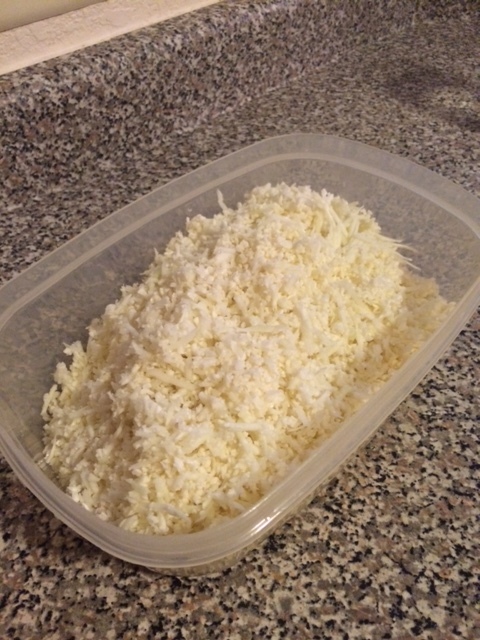
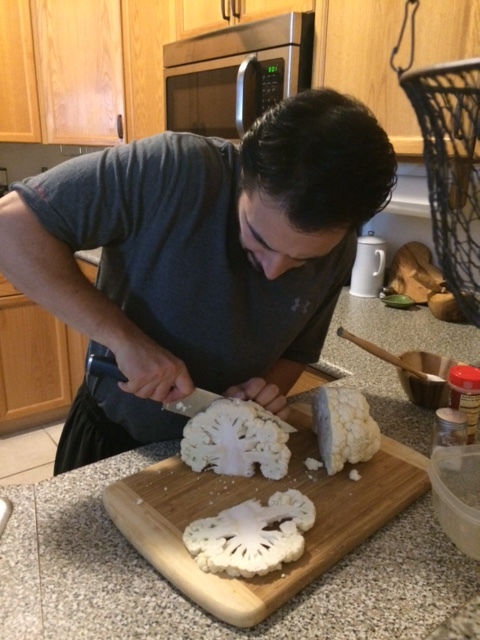
Step 2: Put all the cauliflower in the food processor and pulse until finely shredded.
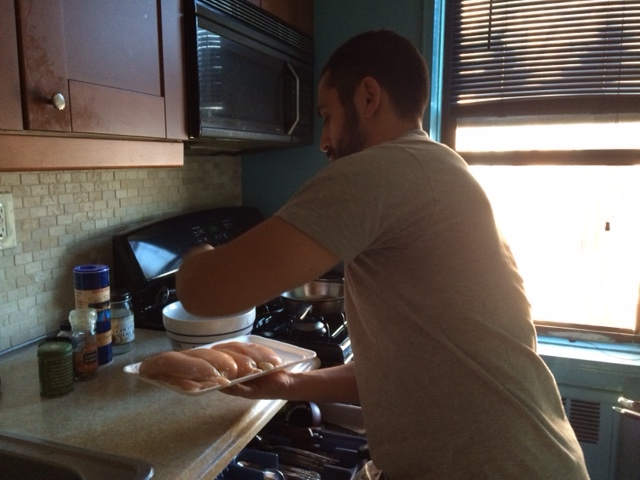
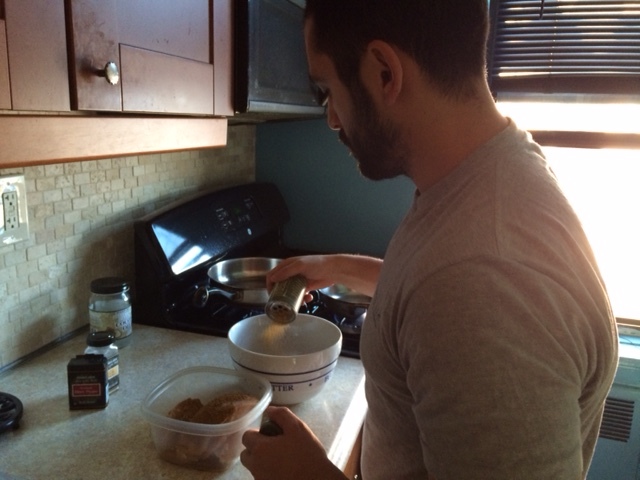
Step 3: Crack all of the eggs in a large bowl with the dry ingredients and slowly add in the cauliflower and mix it all together.
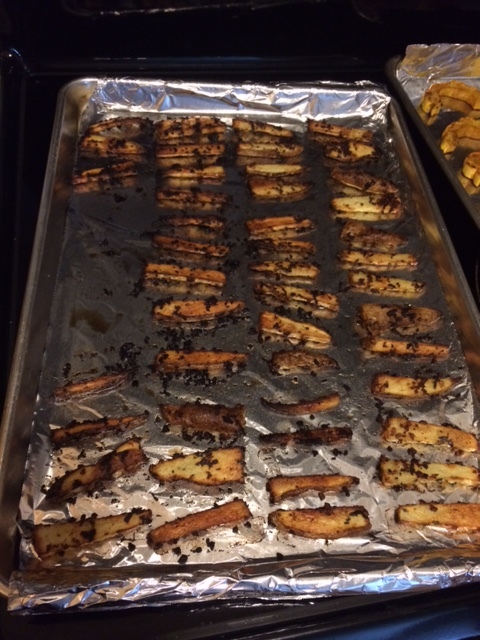
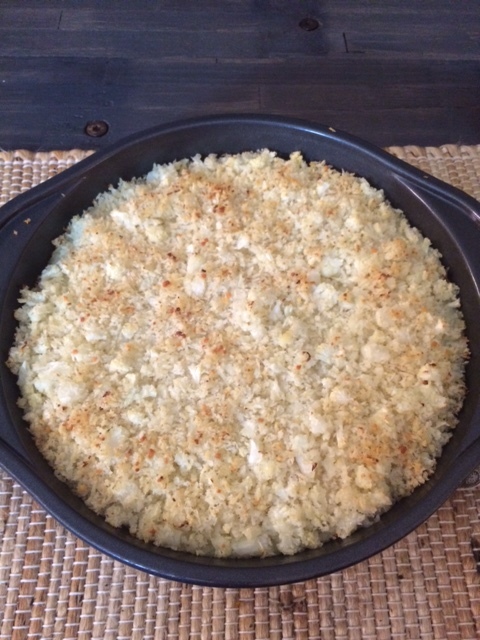
Step 4: Take a small portion of the cauliflower mixture and put it on the baking sheet. Press down on the small portion with your hands until it becomes flat. Continue to do this until all of the mixture is on the baking sheet. I personally made 6 buns with this mixture, but you probably could make smaller buns and make more.
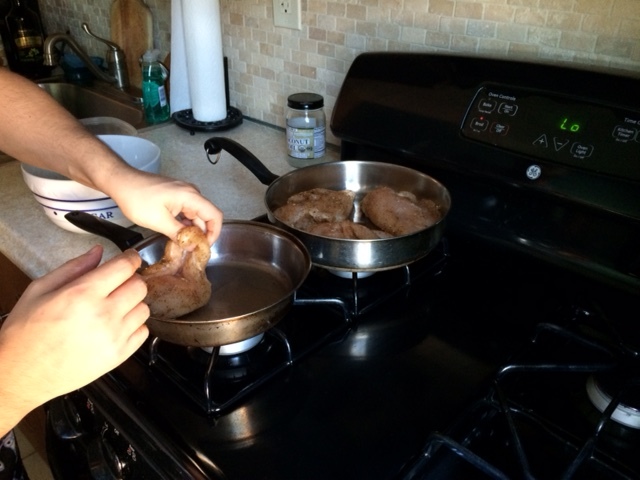
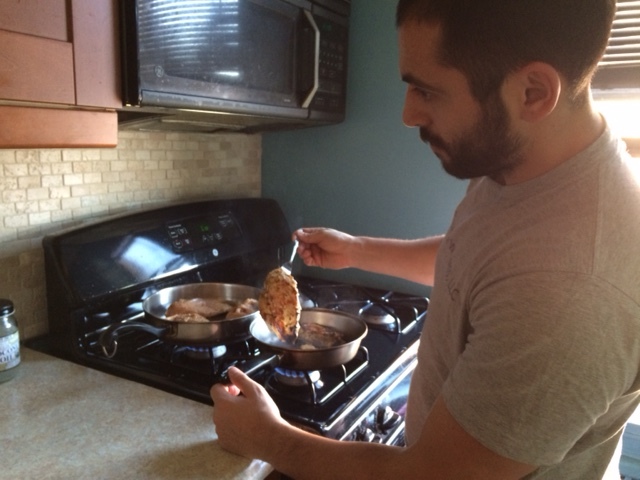
Step 5: Stick it in the oven for about 20-25 minutes or until the bottom is golden brown.